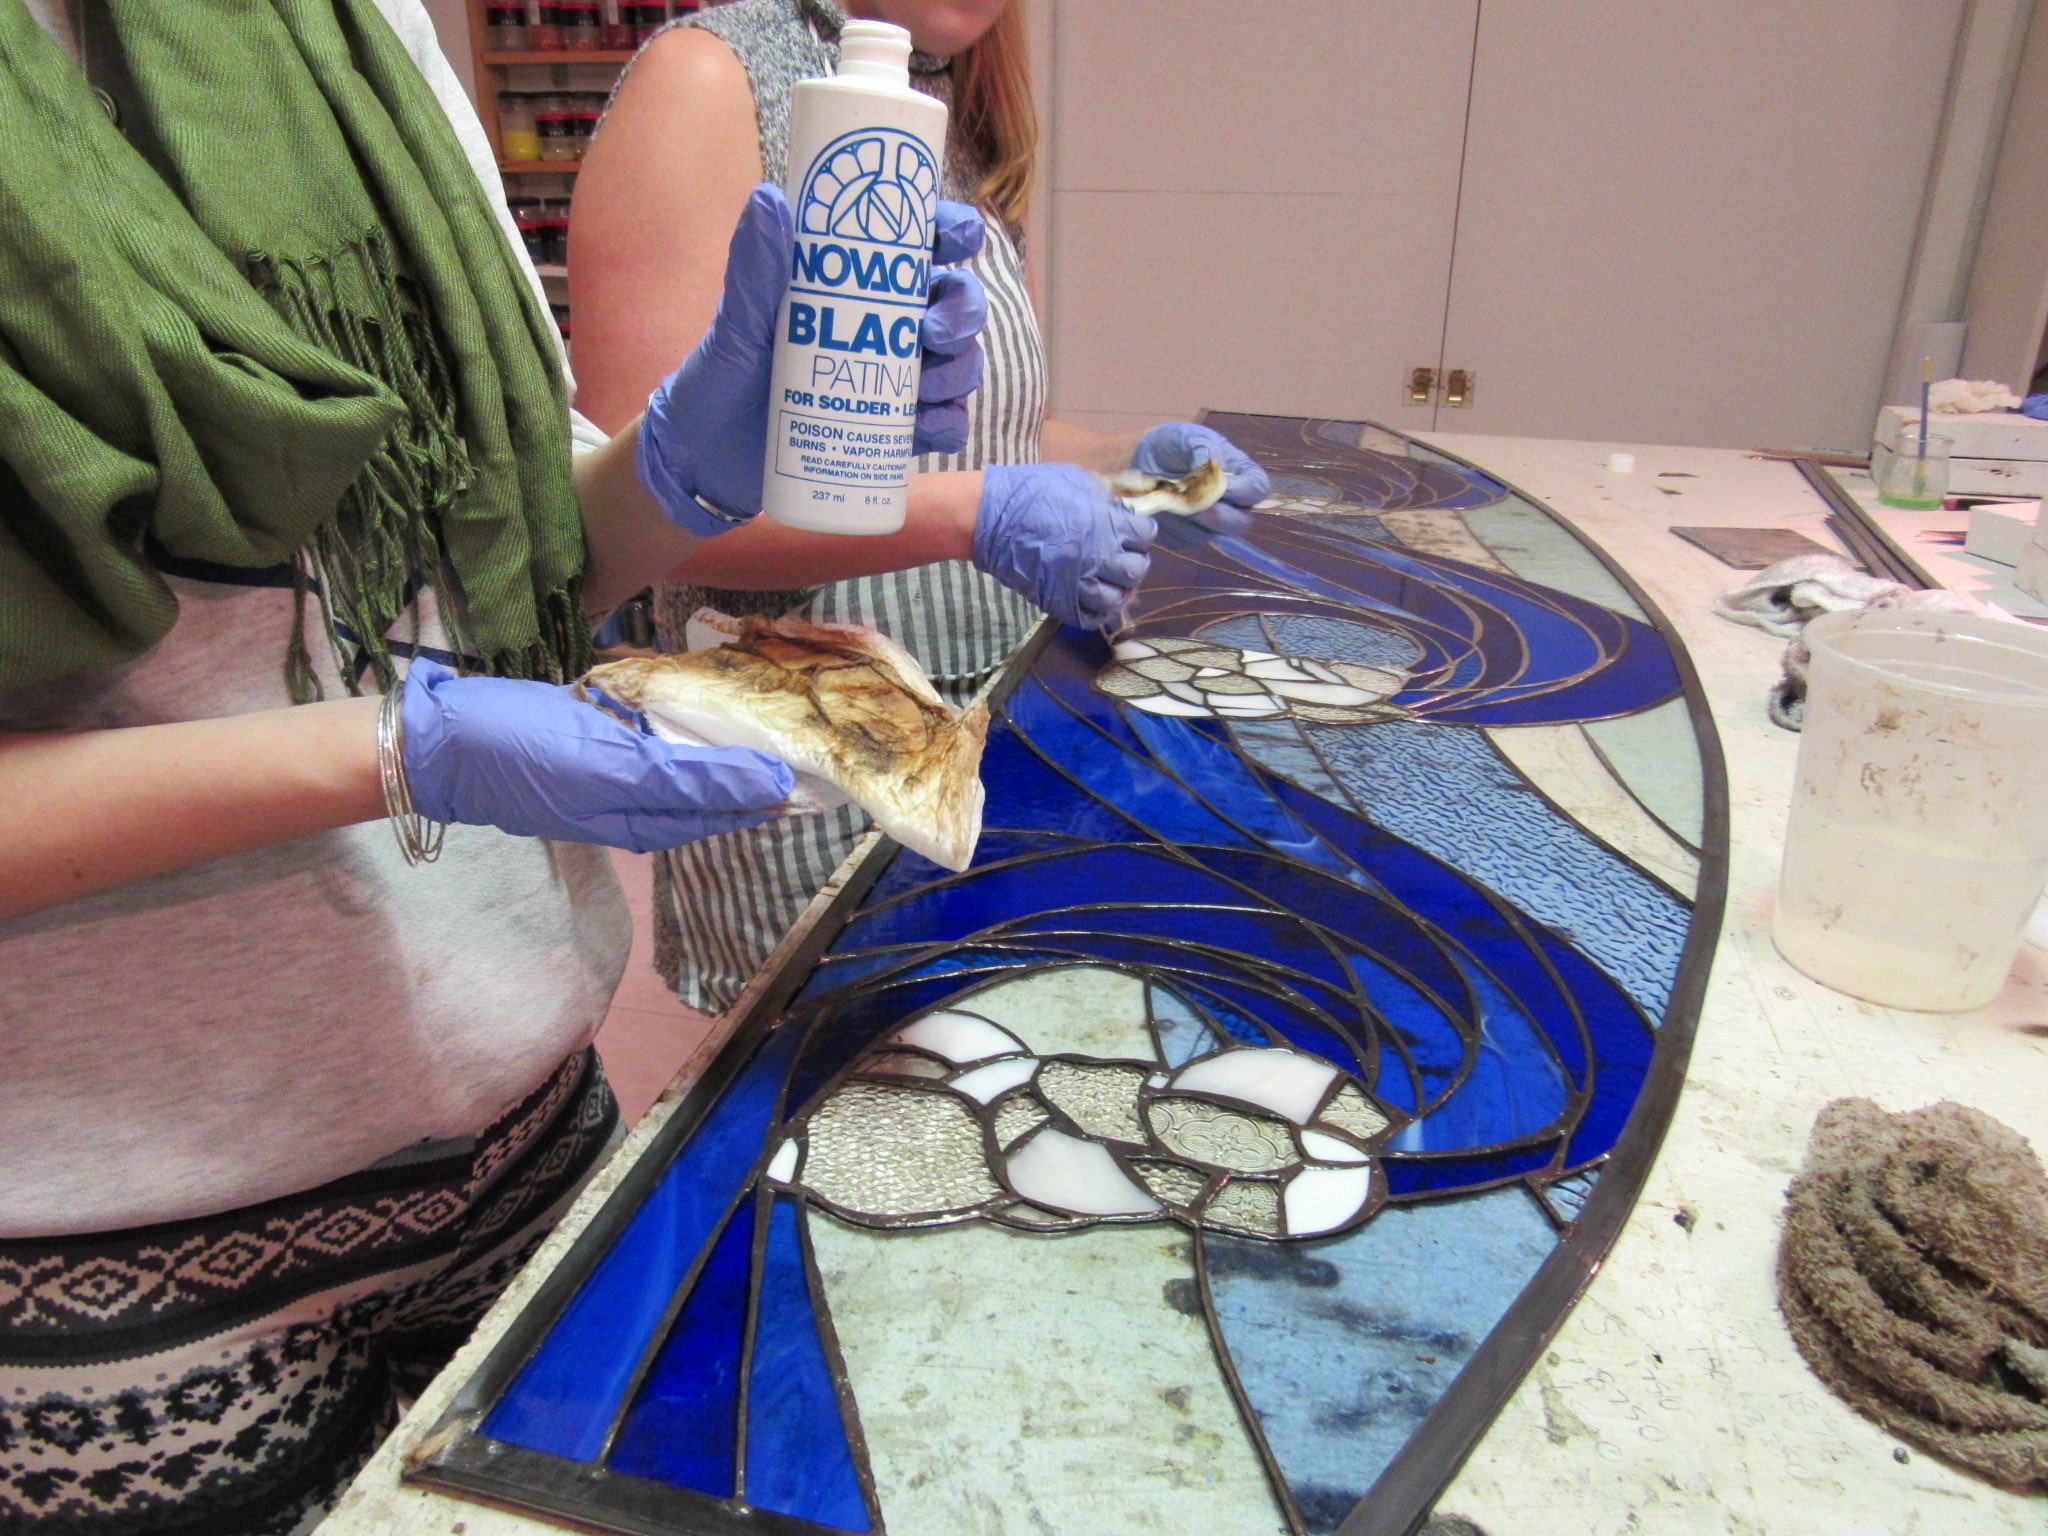
A Peak at the Process: How Do You Solder Stained Glass?
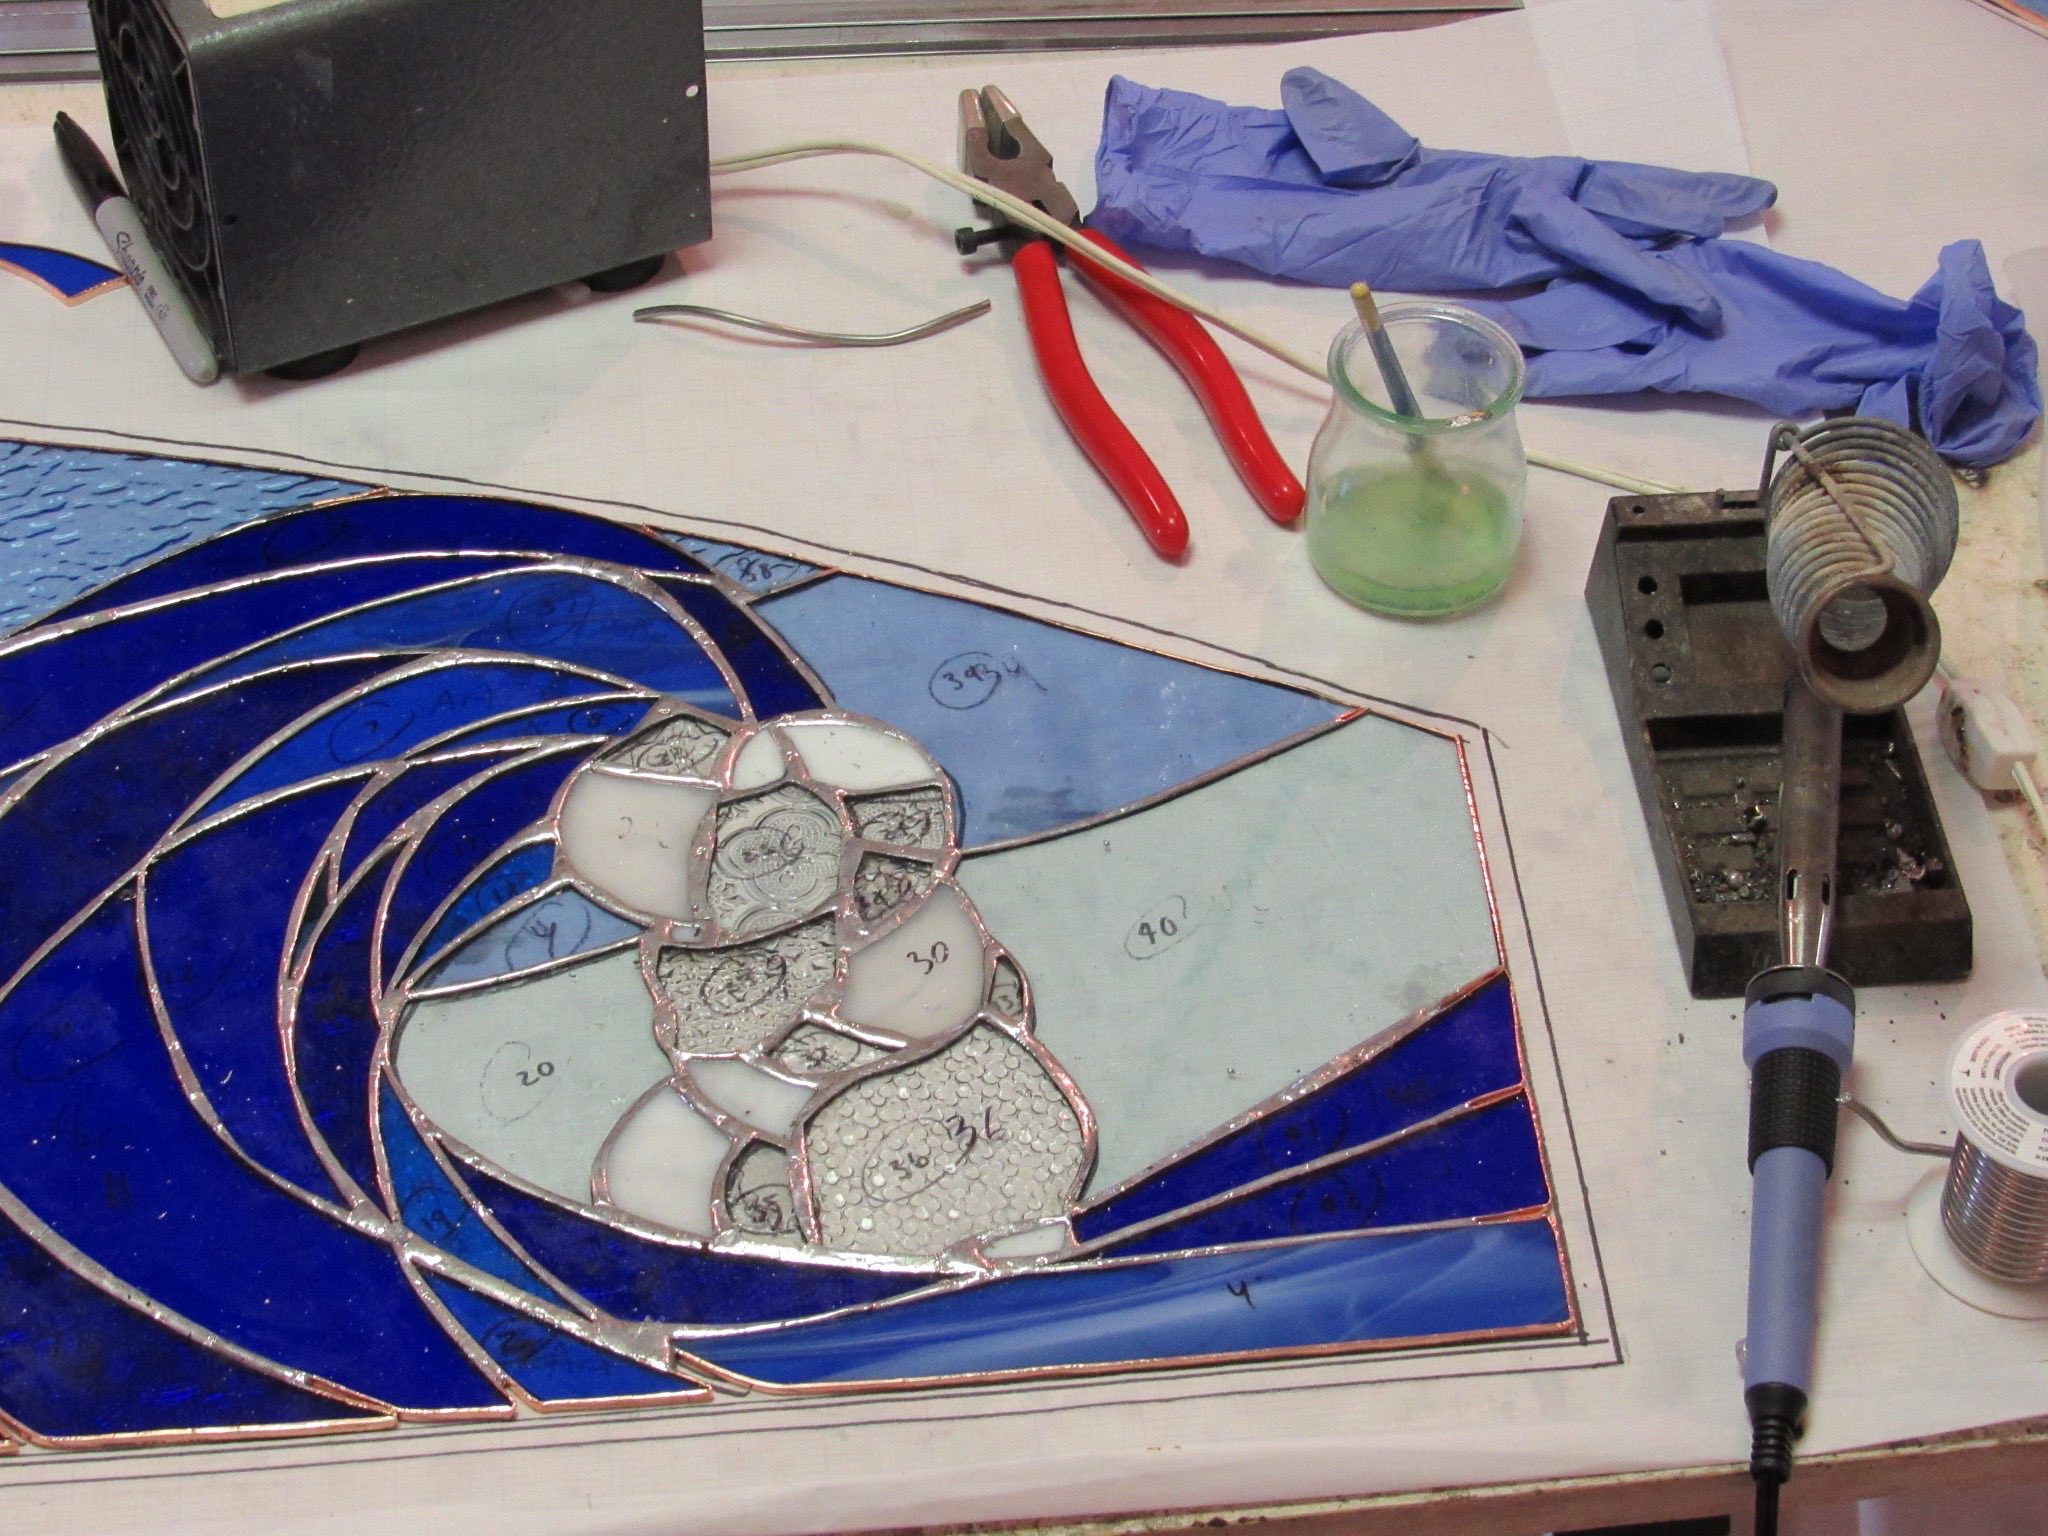
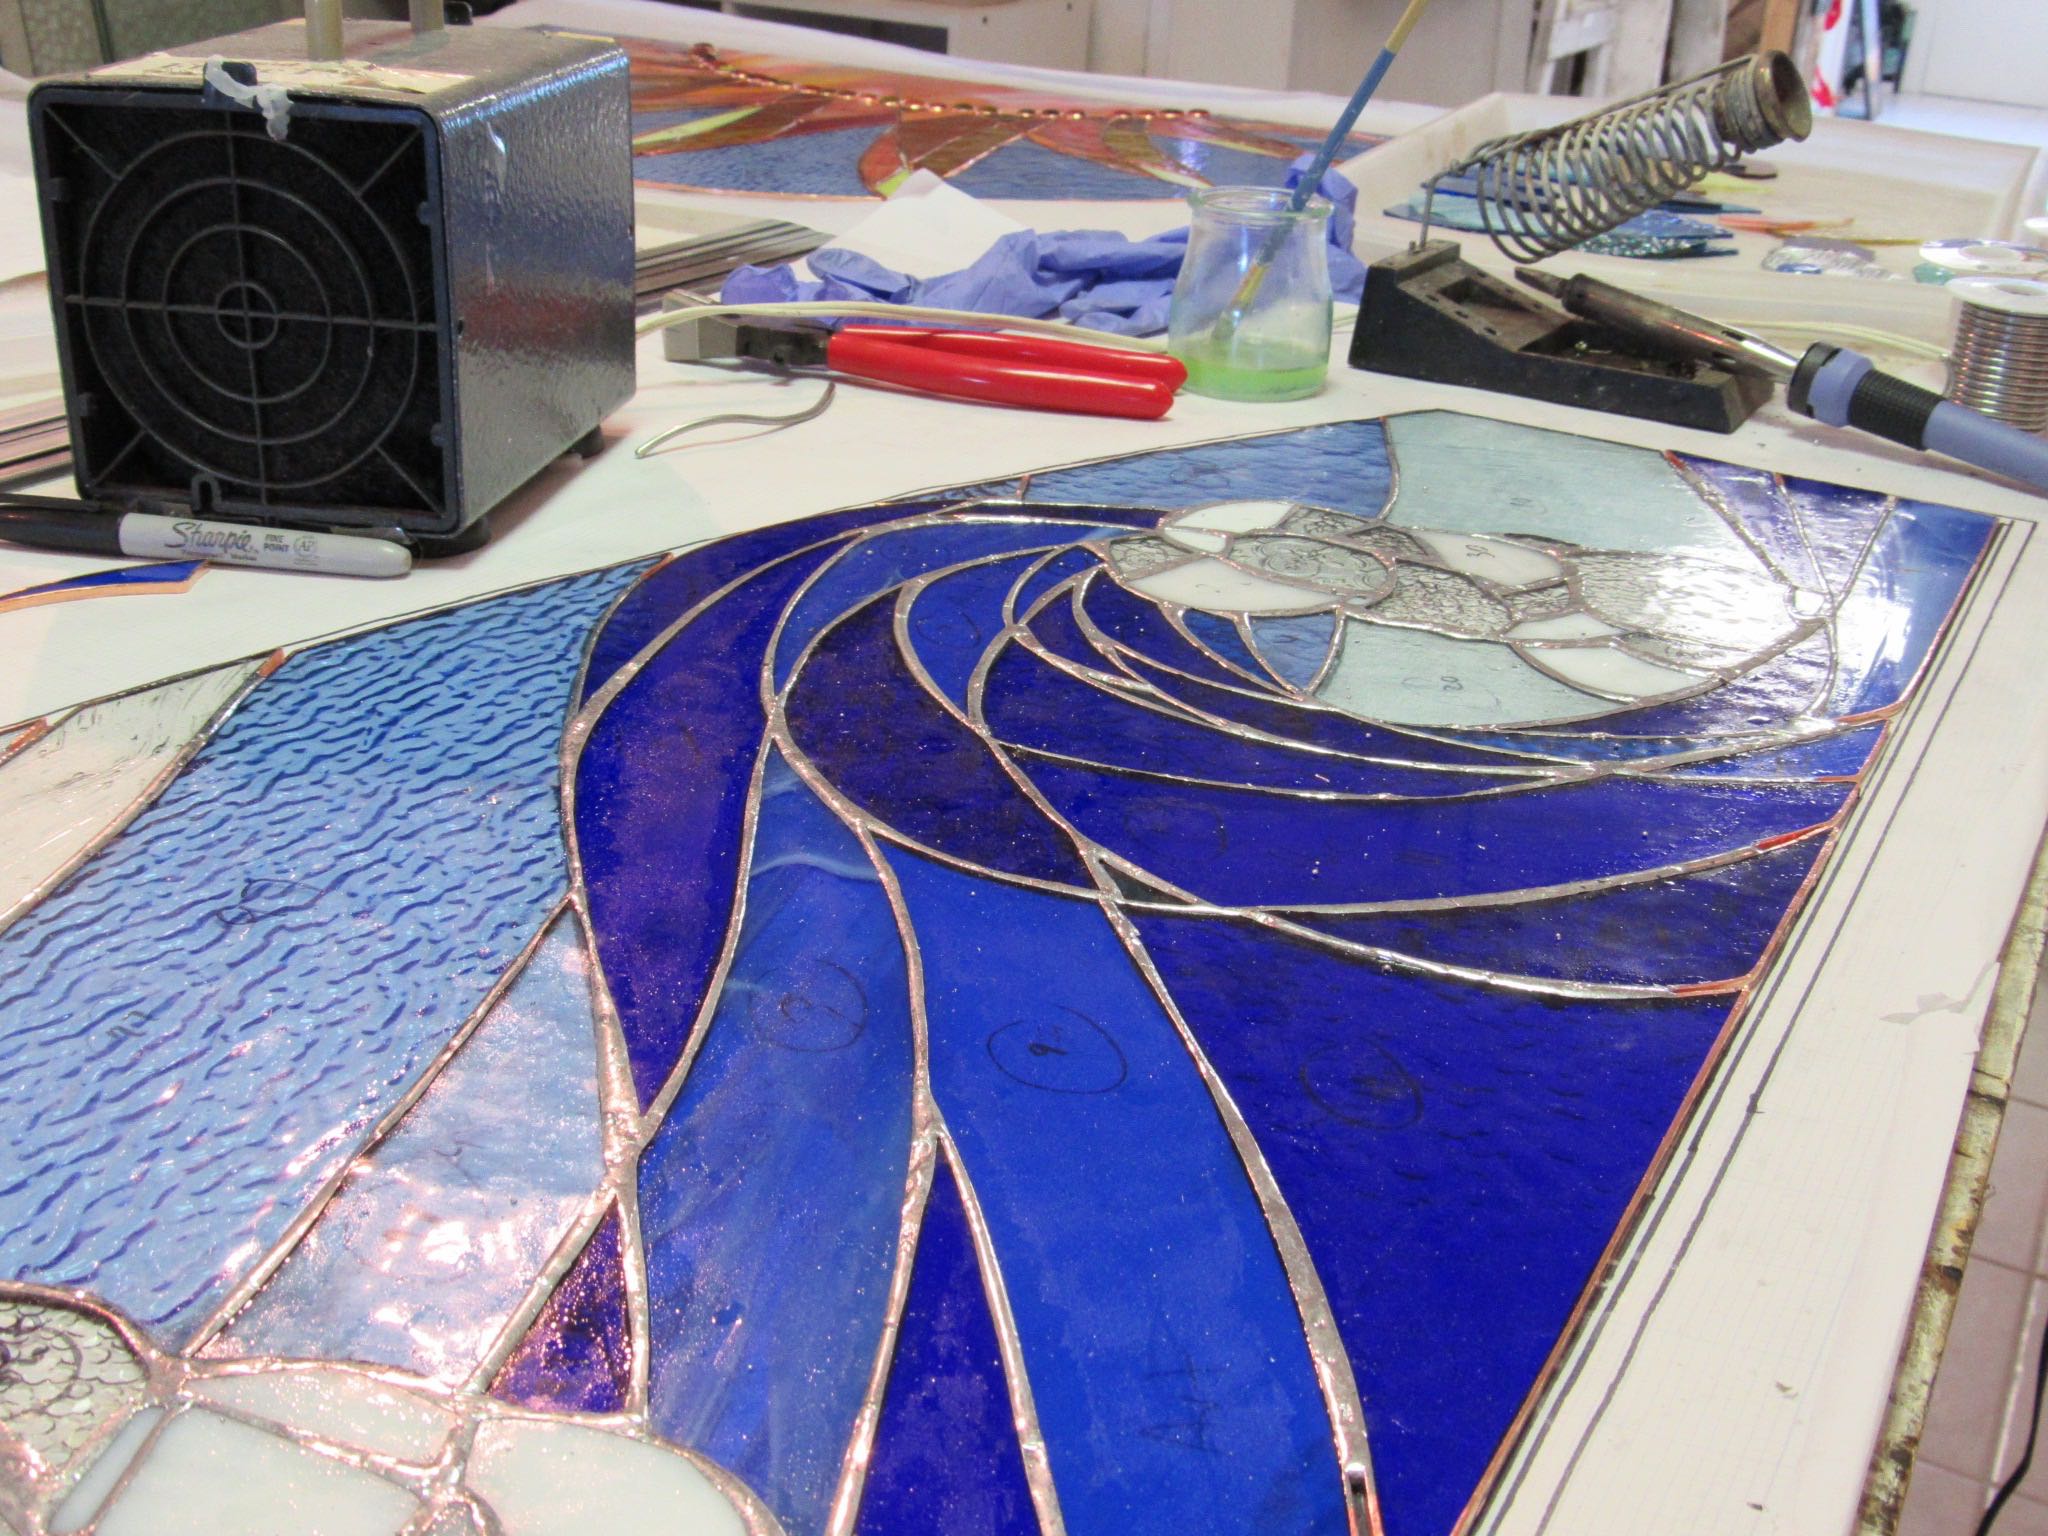
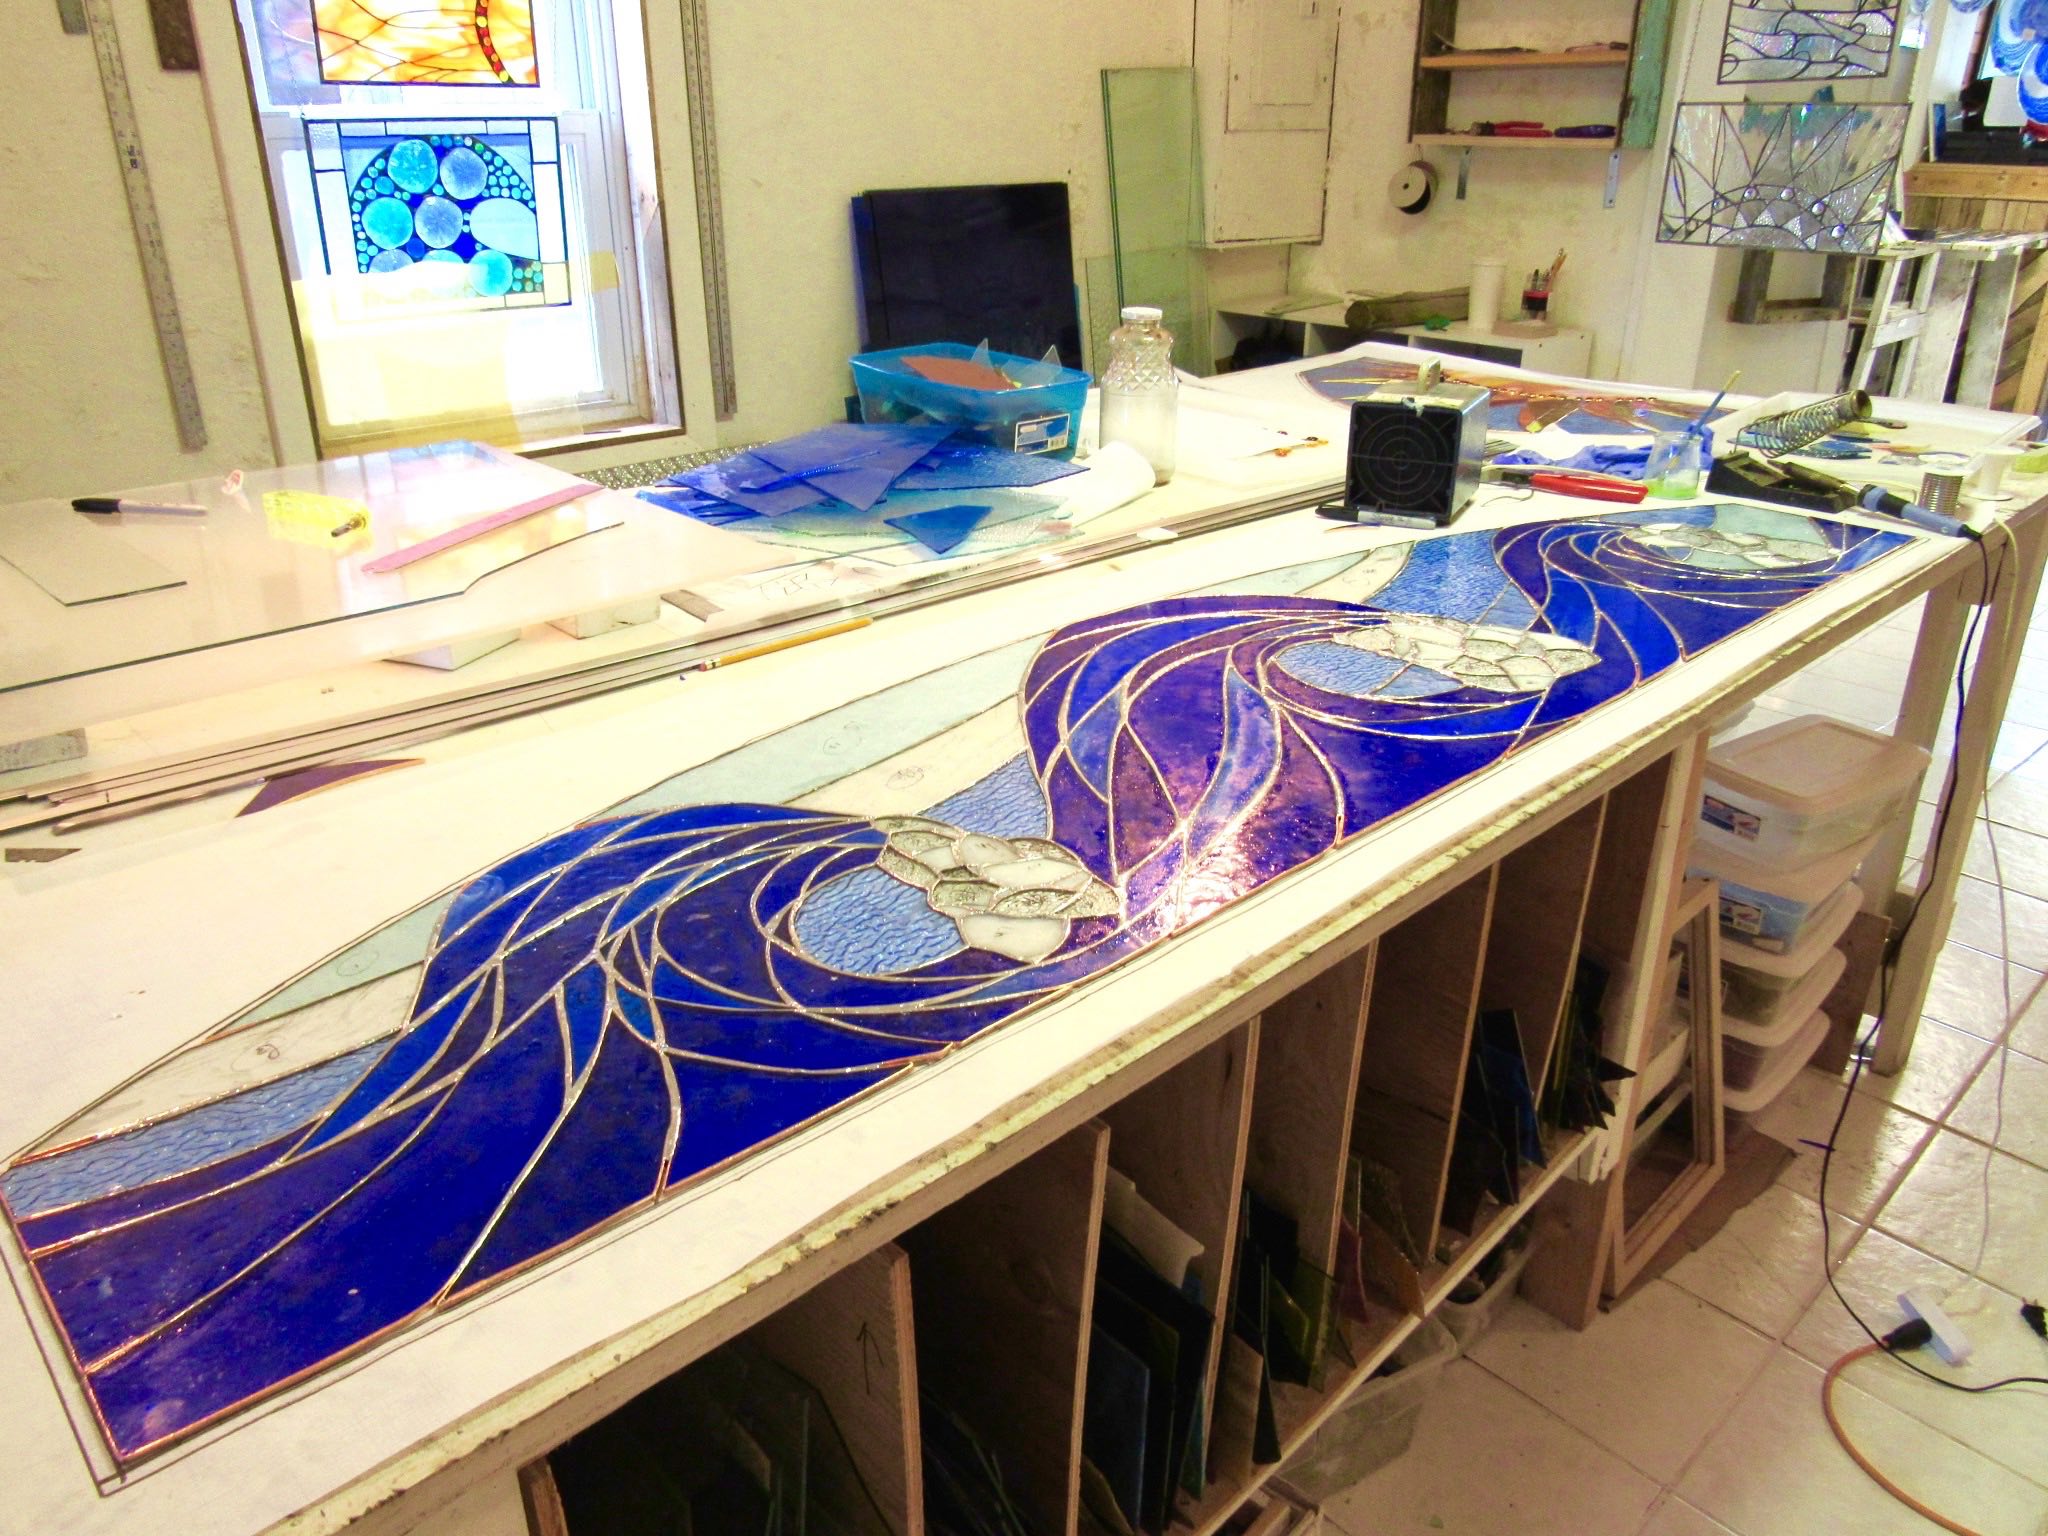
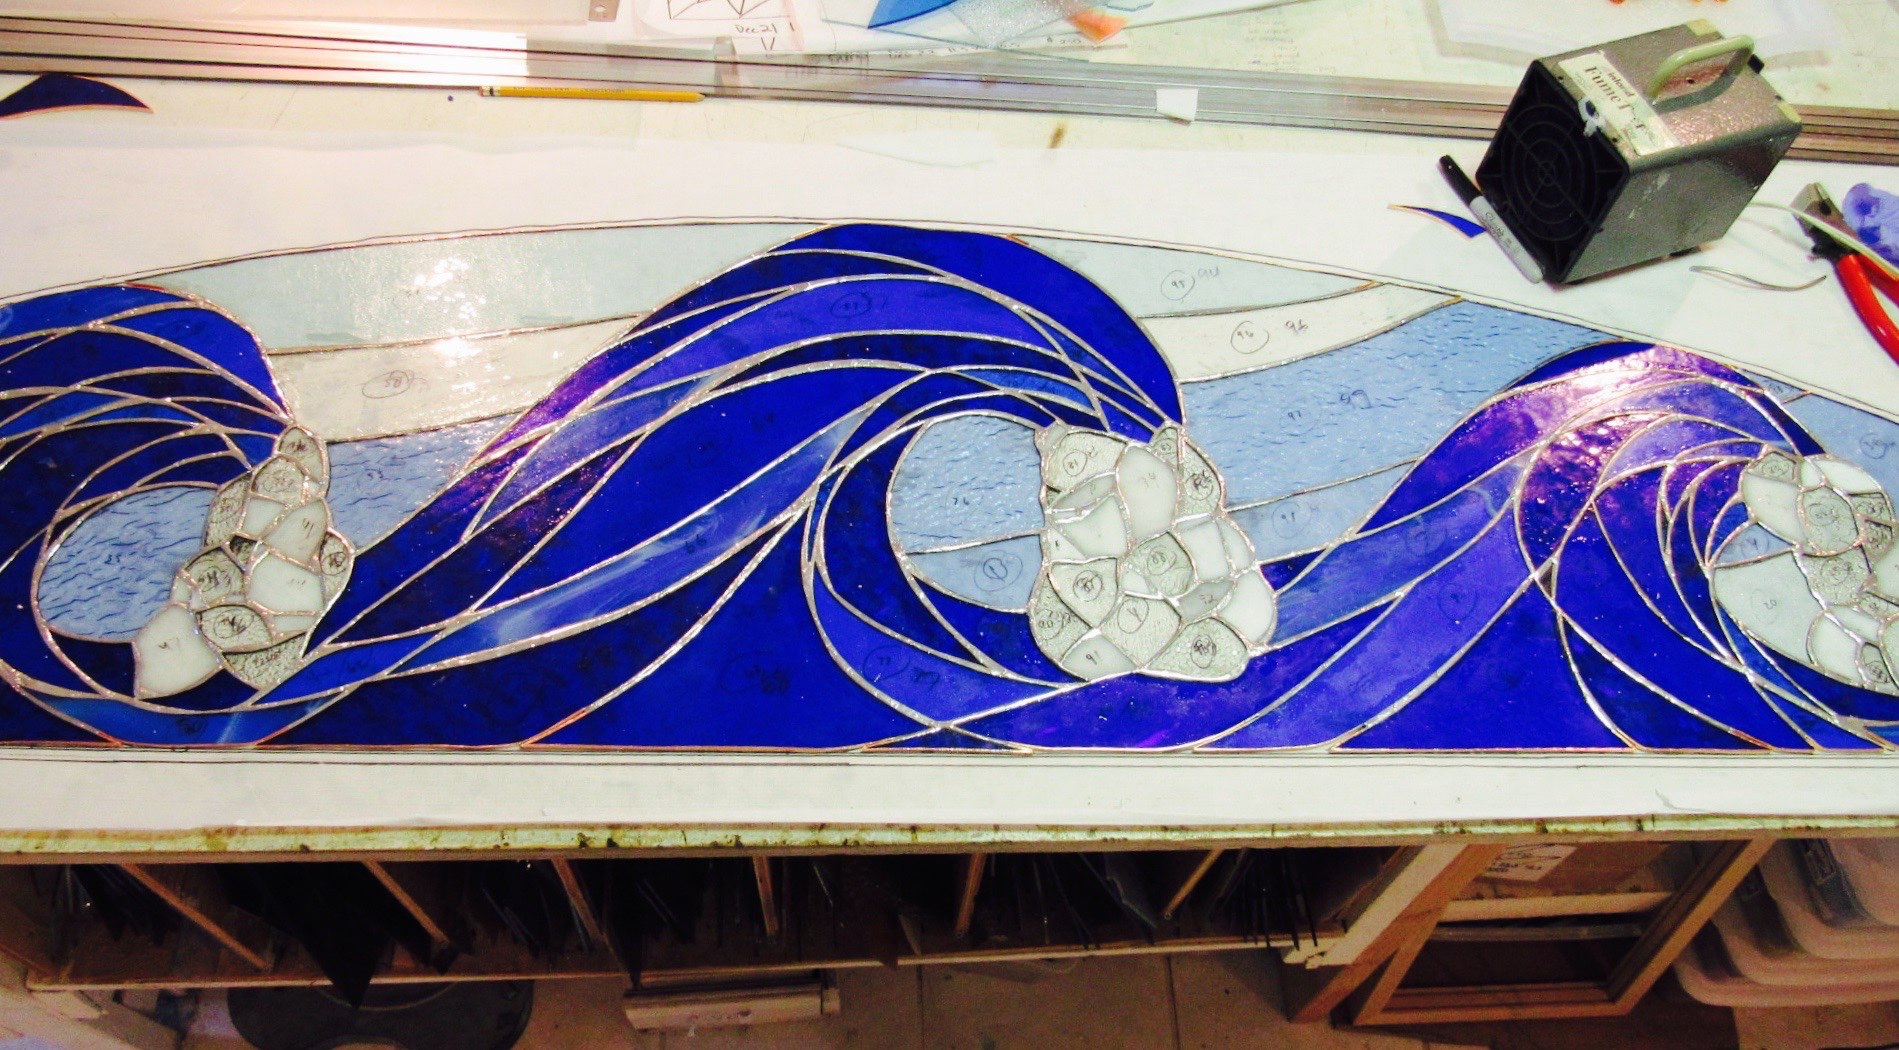
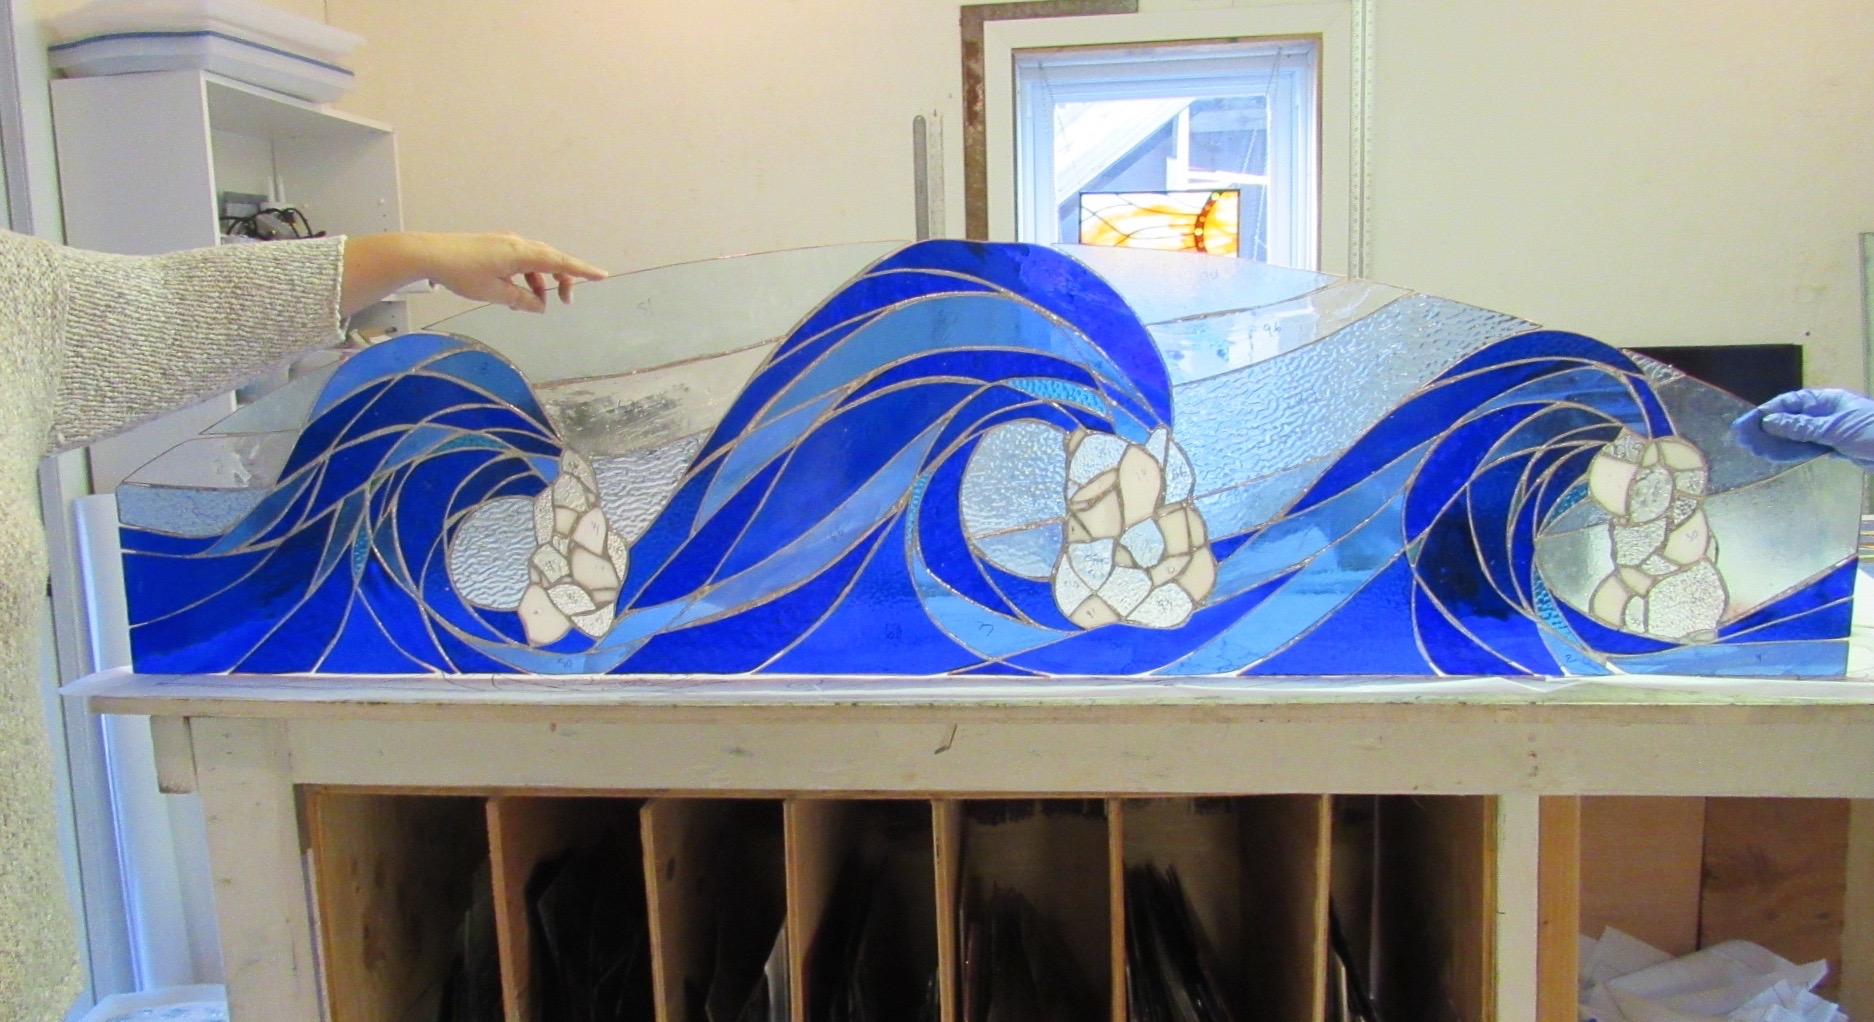
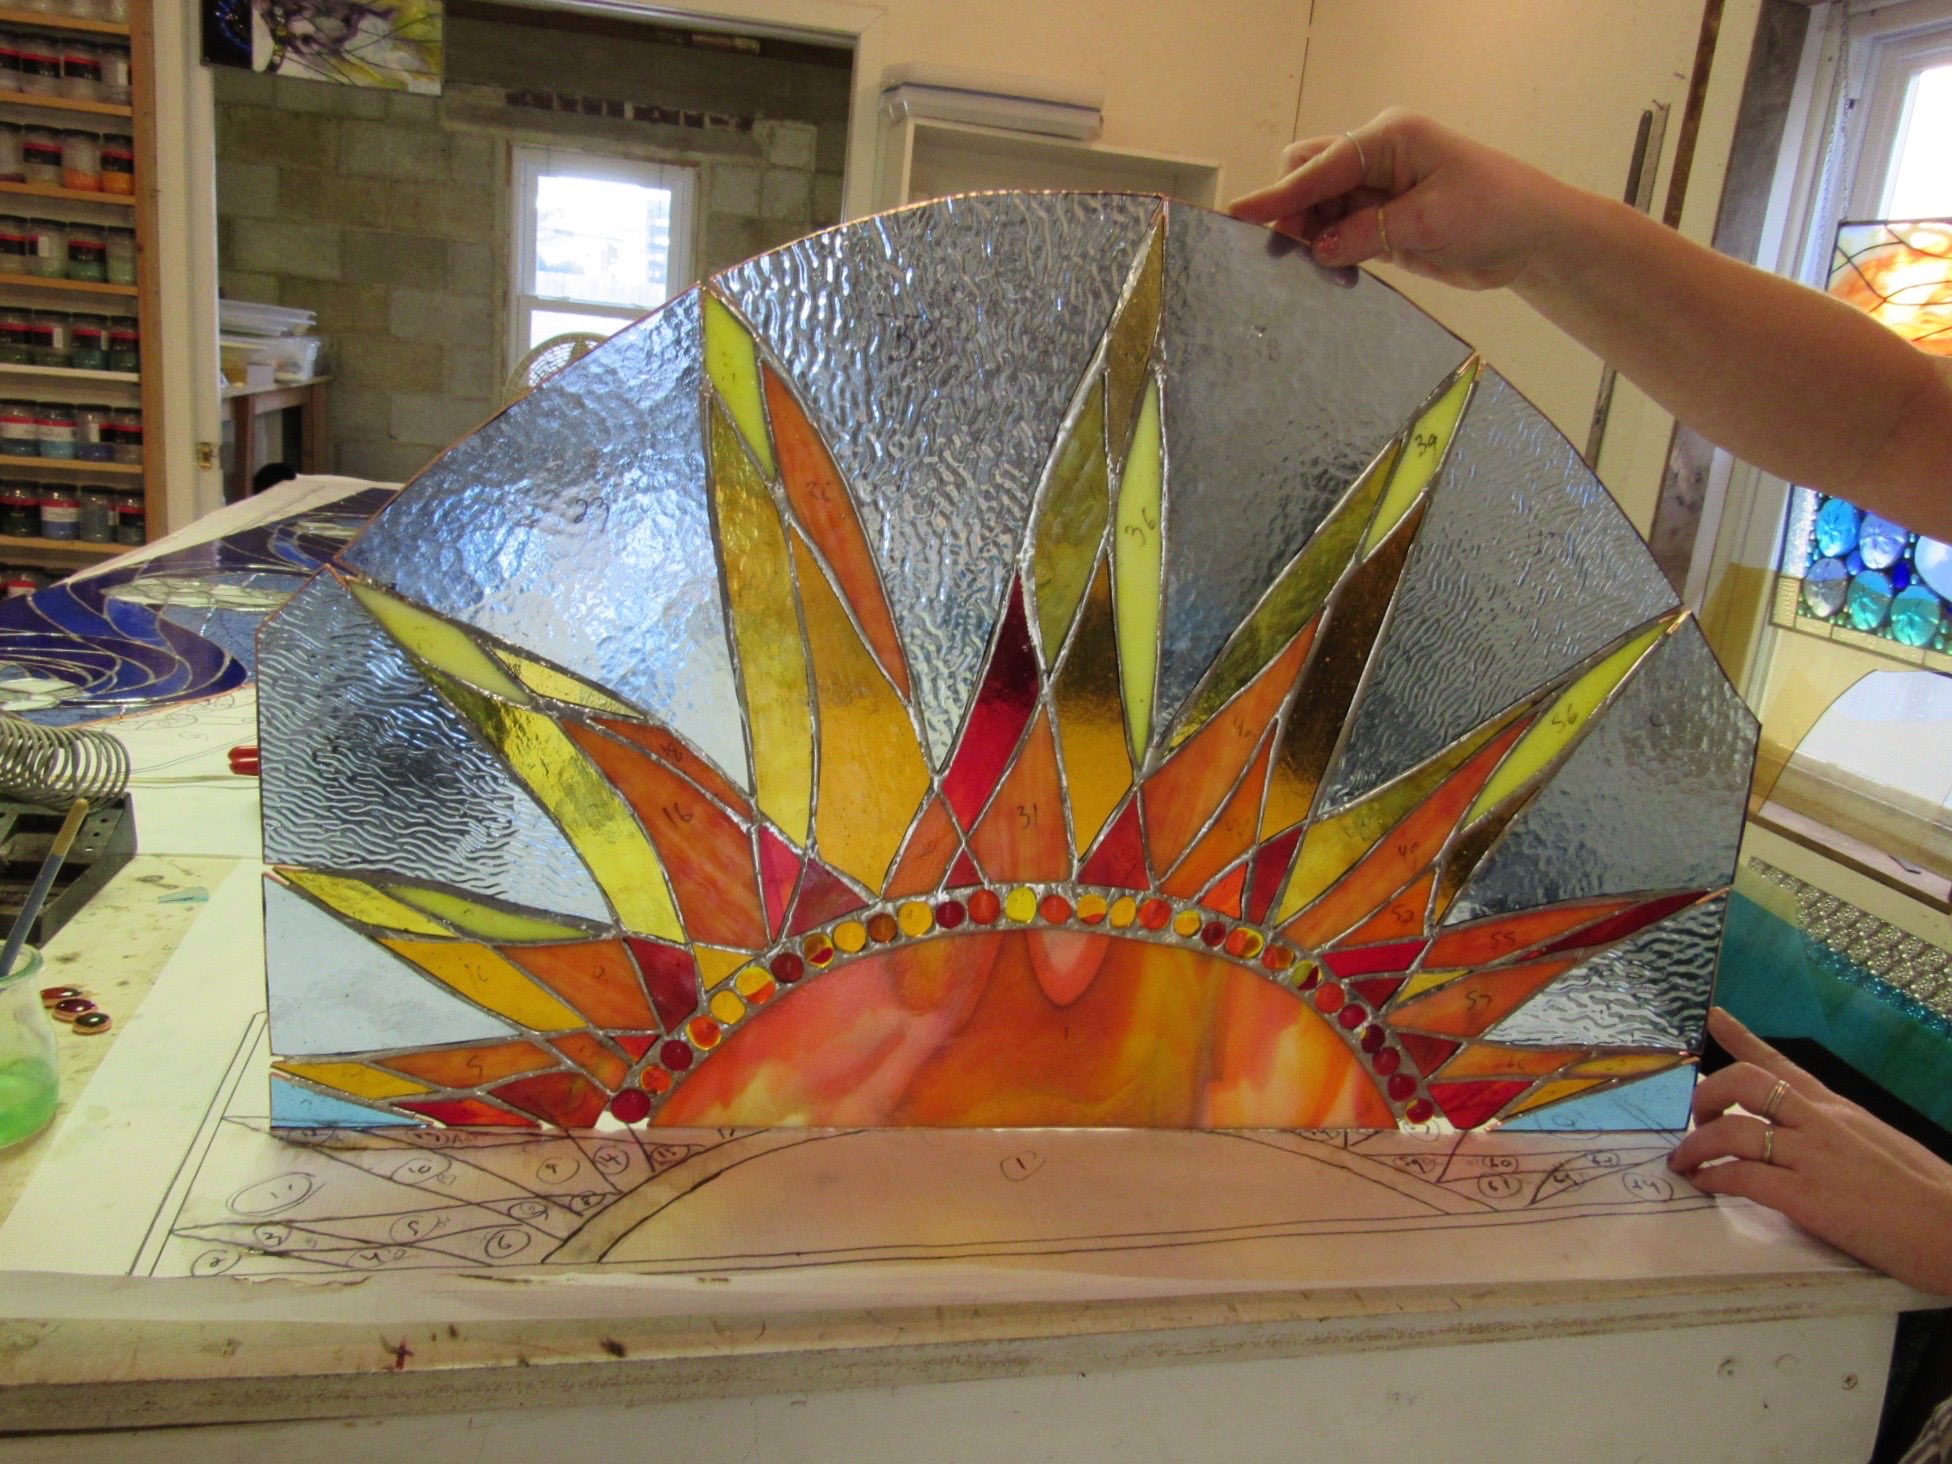
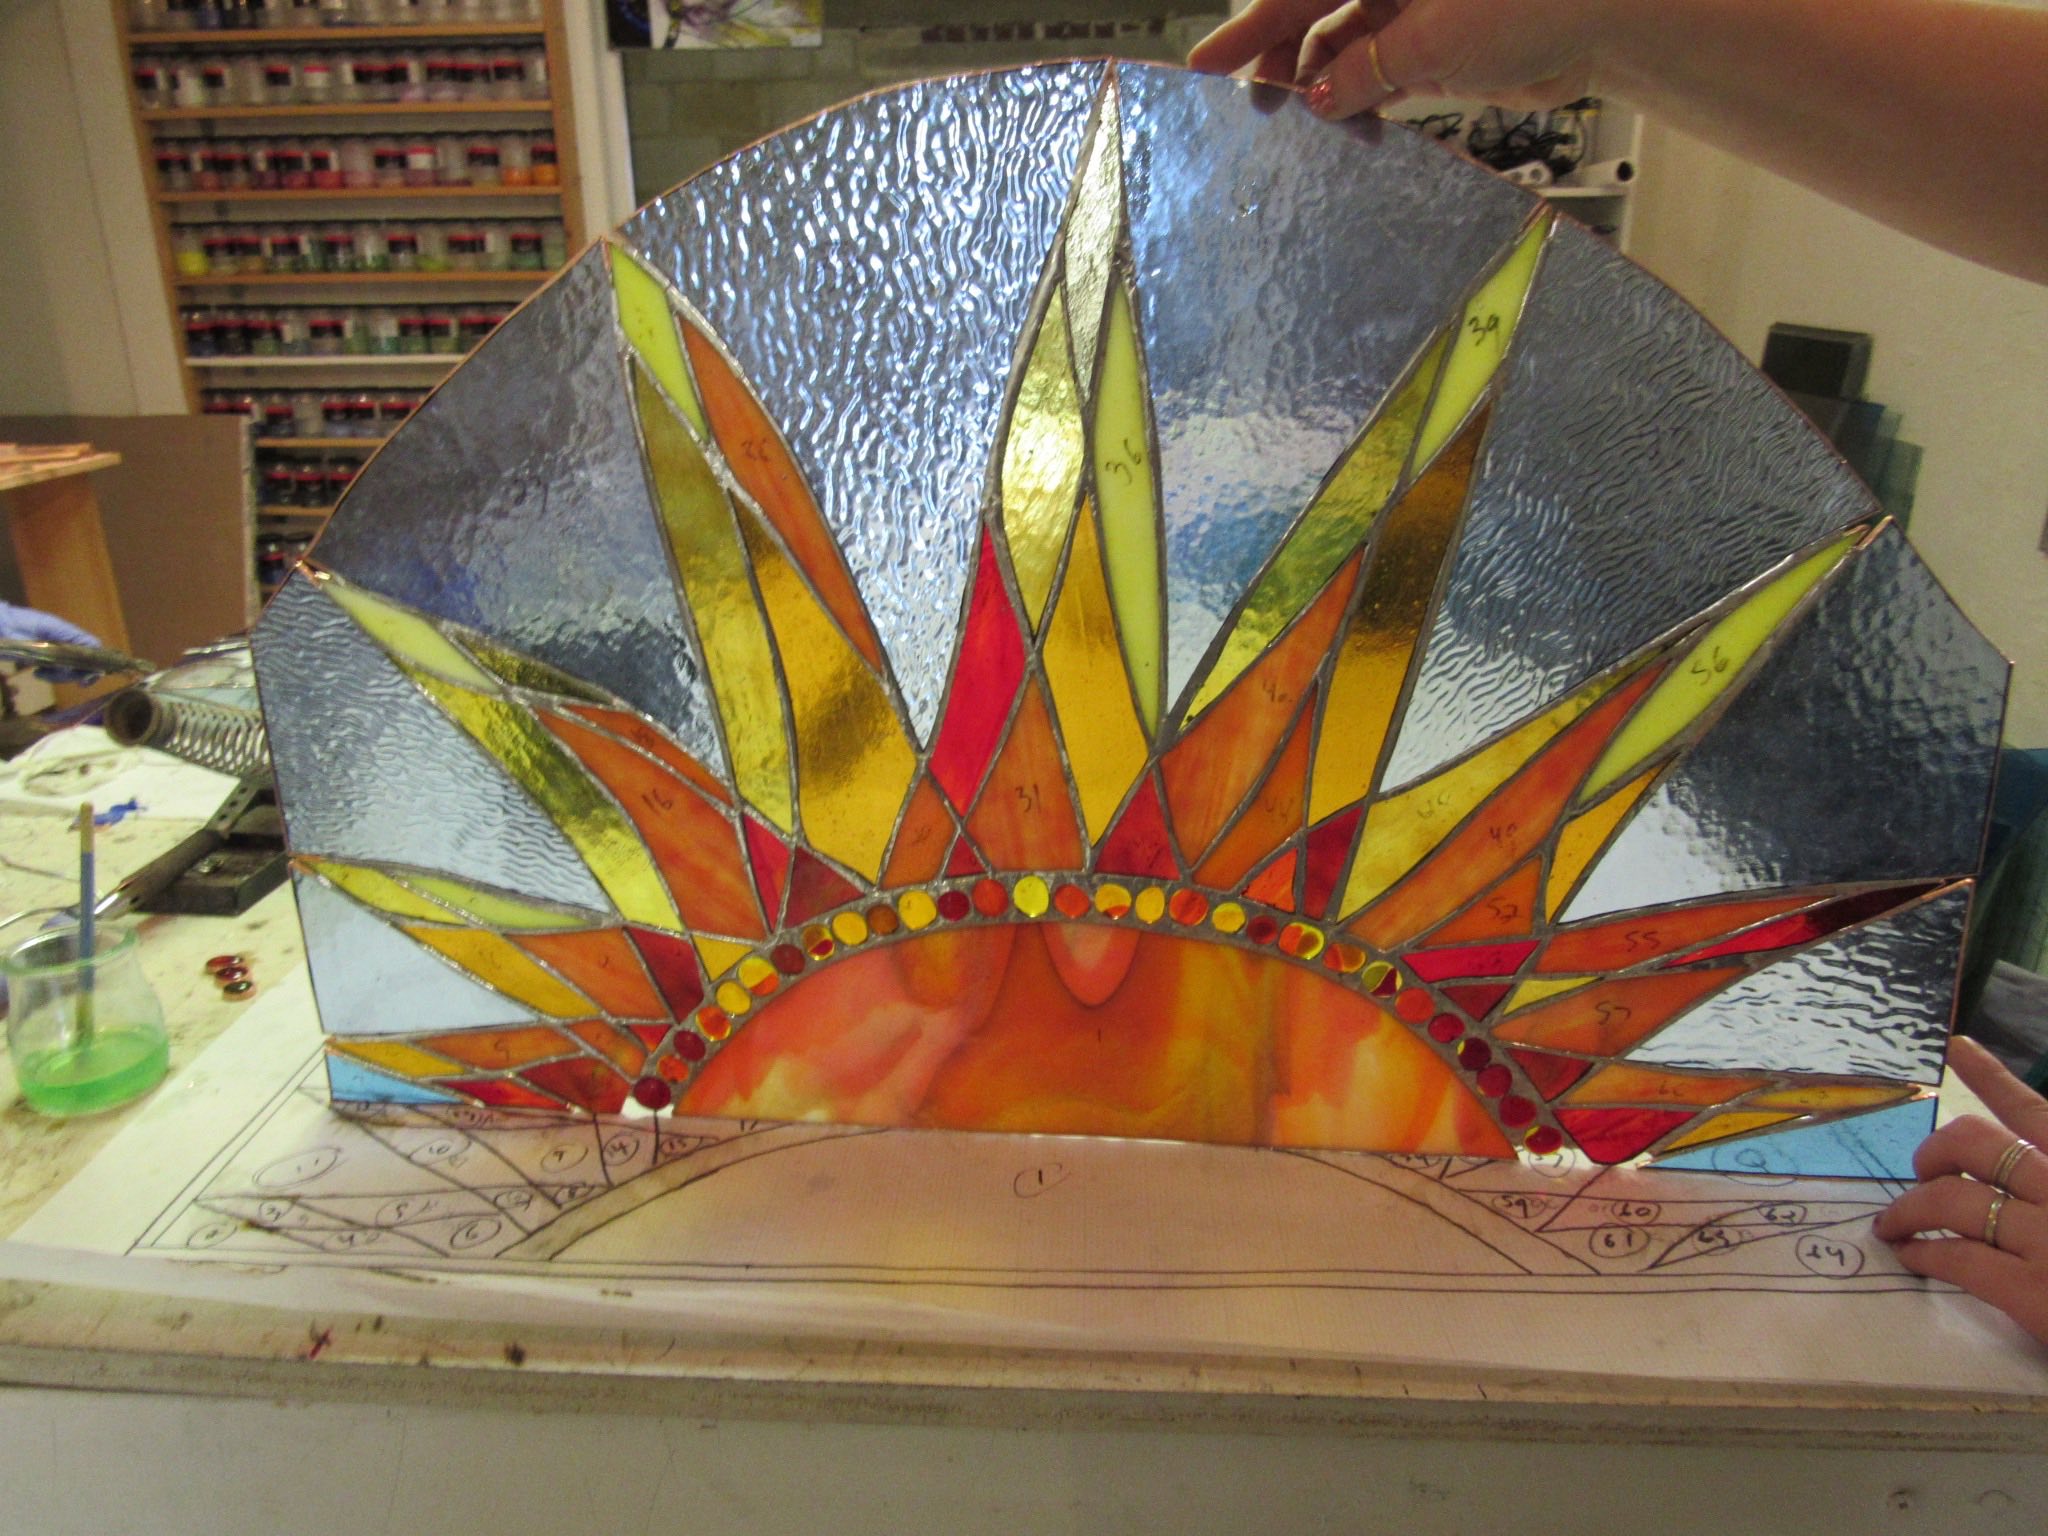
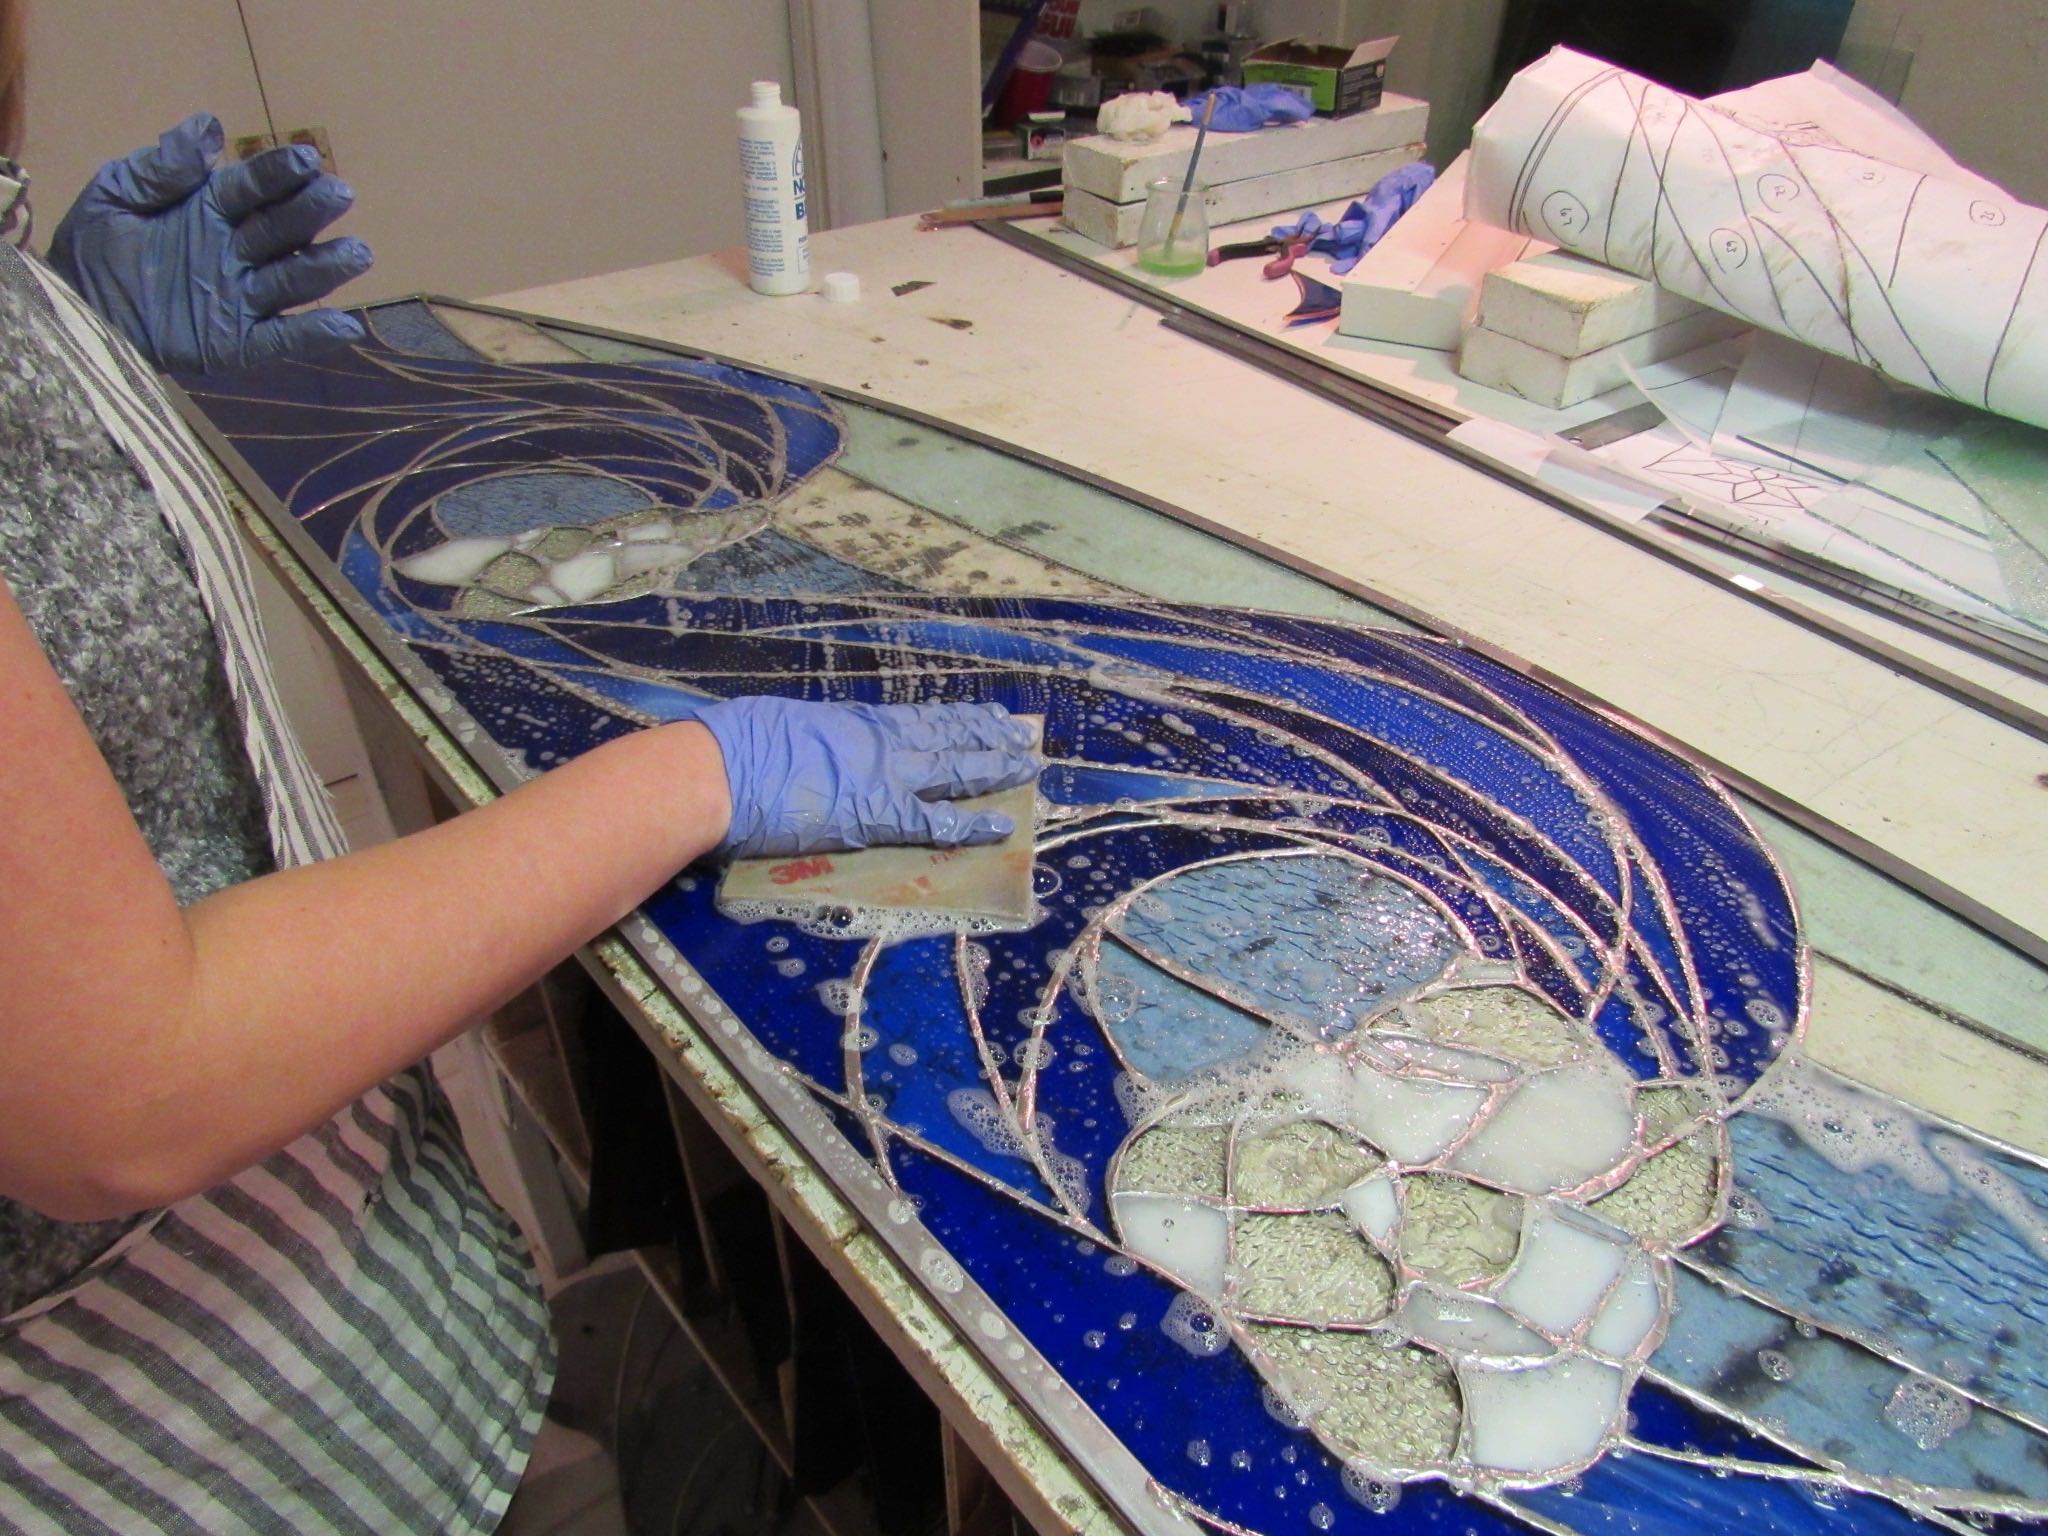
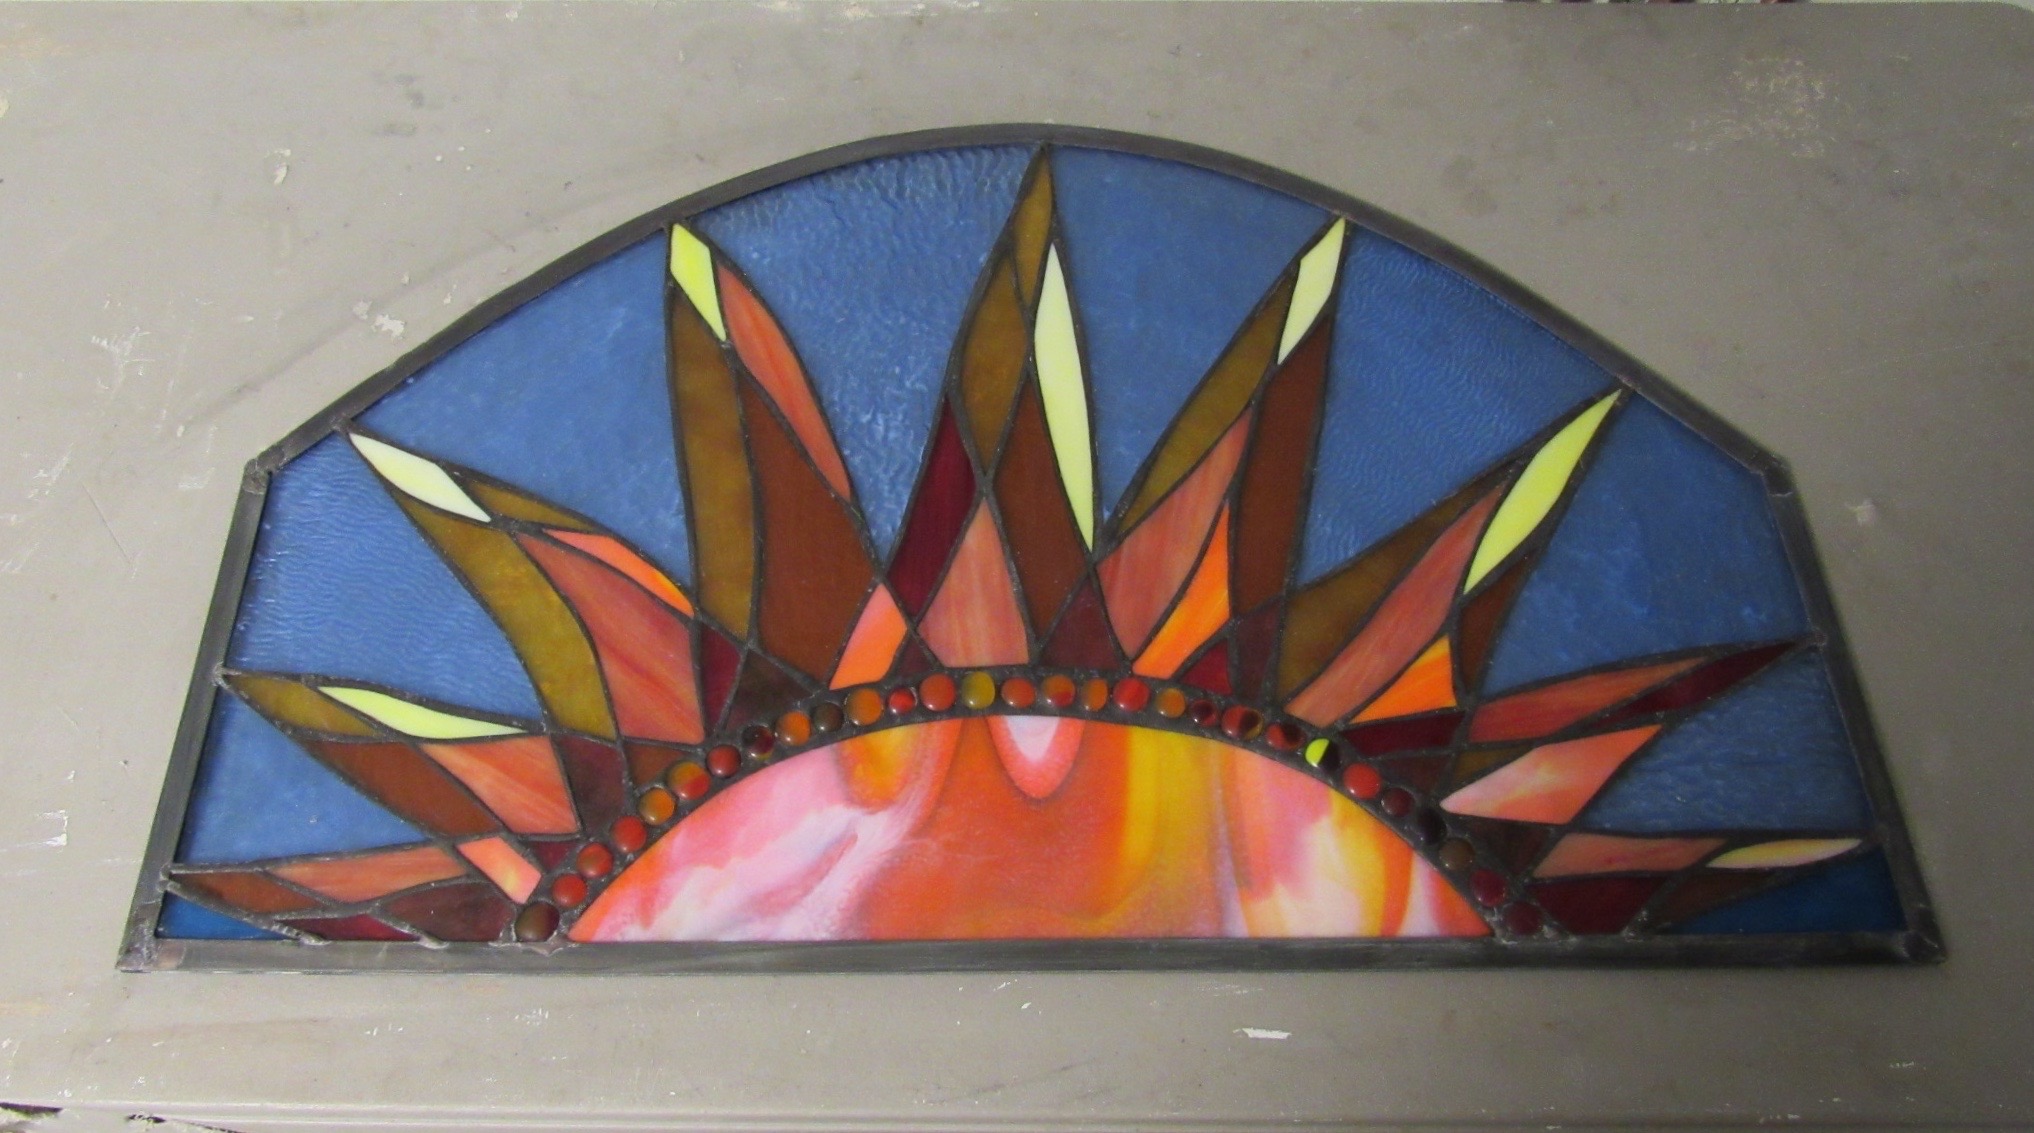
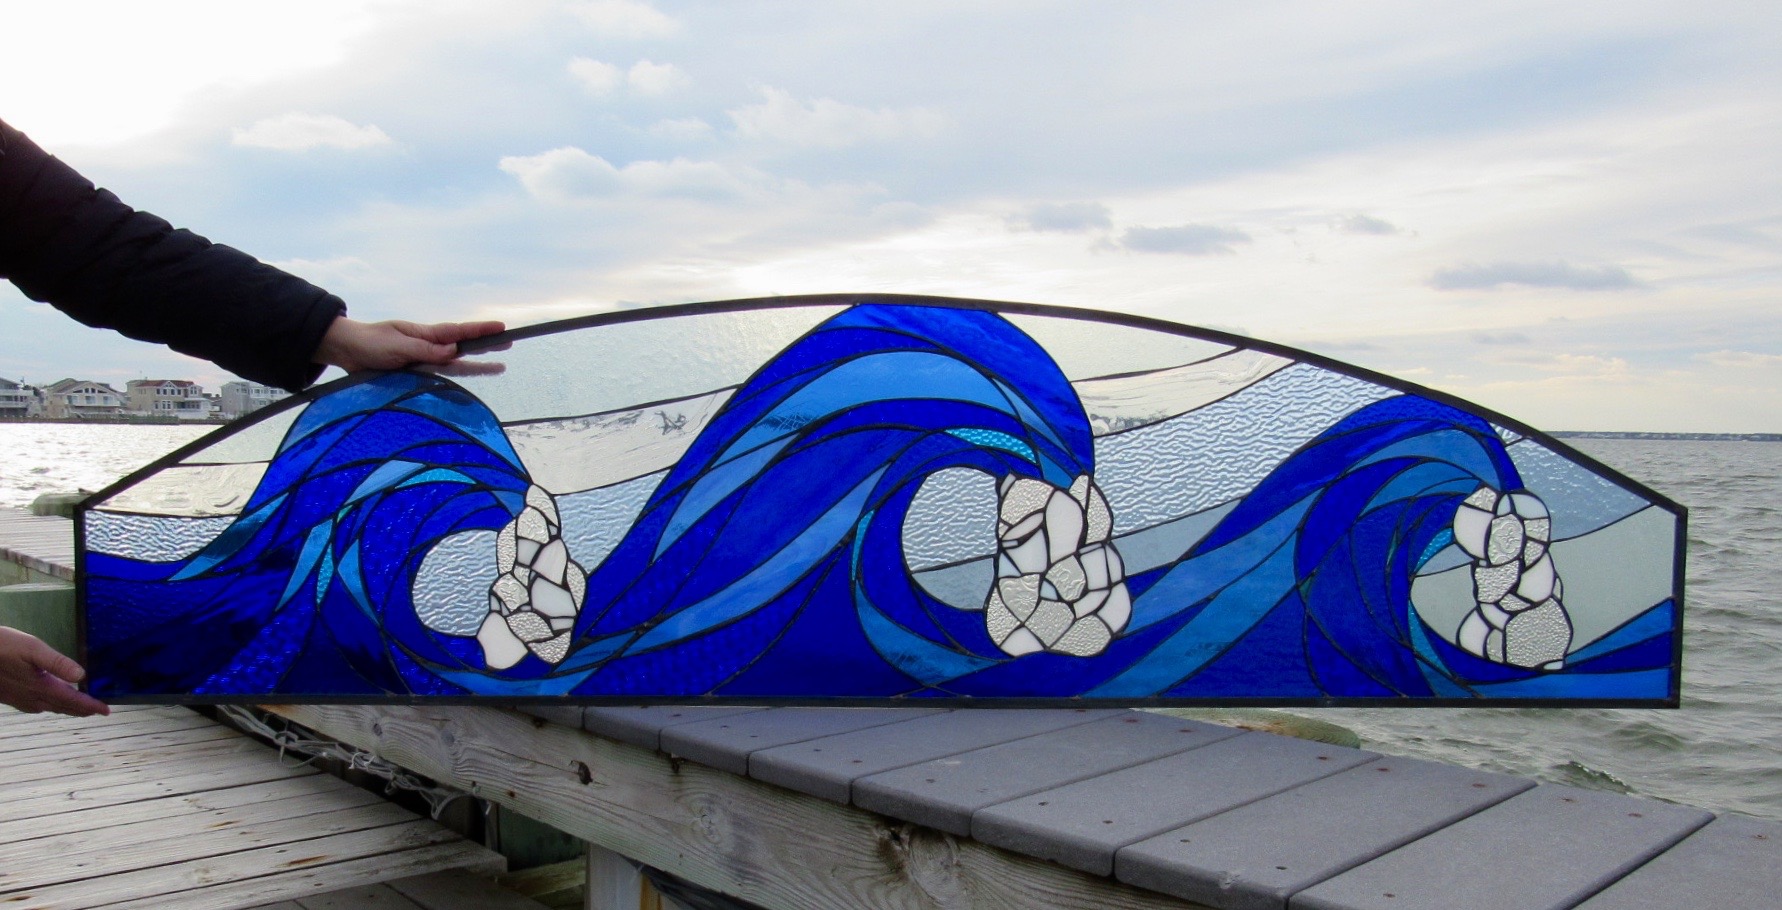
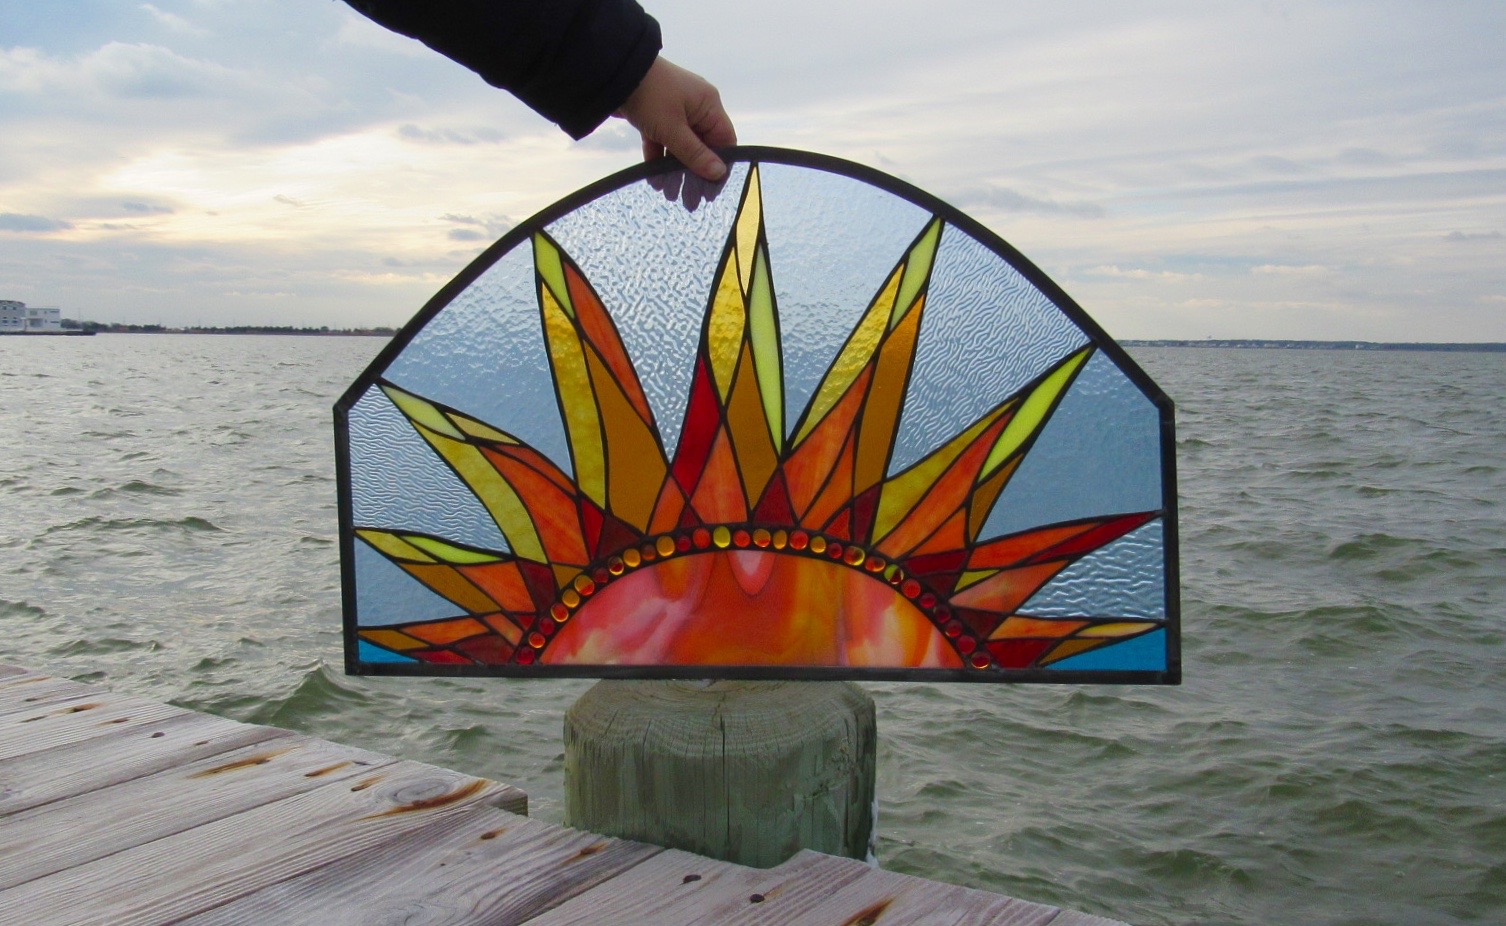
Did you see our recently completed custom stained glass windows? It was quite a large project, one window with rolling waves, and one with a sunrise. Soldering all those many hand-cut glass pieces together to eventually form the stunning finished project is quite a process. Scroll through below to see what the process looks like- behind the scenes!
Here you see the tools we use to connect glass and form a stained glass window. This technique is called soldering.
We use what is called a soldering iron to heat up a metal solder that will stick to the copper foil that is wrapped around each piece of glass.
This large window first had to be coated with a chemical called flux that allows the solder to stick to the copper.
After we finish soldering one side of the window, it then must be flipped to solder the back side.
The first side is finished! Now we get the first glimpse of the window as a whole.
The same process is used to complete this sun window as the waves.
Now that both windows have been soldered, they need to be bordered and cleaned.
After soldering a stained glass window together, the piece needs to be thoroughly cleaned. Flux remover and dish soap help to remove all the chemicals.
At SwellColors we like to use a black patina- this changes the color of the solder lines from silver to black for a sleek, bold look.
It is dramatic how different a window looks from start to finish.
So satisfying to see all finished!
Truly lovely. Each nugget in the band around the sun was also handmade in our studio.
We love what we do here at SwellColors Glass Studio. Come visit the studio to see us in action, or drop in and take a class, or call and order your very own custom stained glass today!